


Working with Metallic Floss
I love designing patterns with metallic floss. They give an extra kick to the projects and a precious finish that regular floss can not give. But I also know that many stitchers, both beginners and experienced, hate to work with them.
The reasons? They snag and unravels. So I'd like to give you some hints to make your experience with metallic floss more enjoyable!
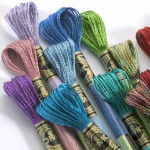
I usually work with DMC Light Effects that are 6-stranded like the normal embroidery floss, so you can divide them and use how many strands as you need and they come in a rainbow of colors.
Yes, but it snags. That's true. If you look carefully at it you will notice that it's actually composed of a soft inside core around which is wrapped nylon metallic threads. It's the nature of that metallic outside thread that it has some rough edges compared to cotton floss and those edges can snag on fabric. That snaggy metallic nylon is what gives the floss its shimmer and shine, but it's really darn annoying to work with.
We can fight this snaggy effect by using a thread lubricator.
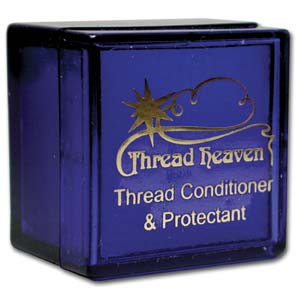 Someone use beeswax, or paraffin but this materials can become flaky or crumbly due to age and beeswax is not acid-free, so it may ruin your thread as time passes.
I personally like to use Thread Heaven. It not only helps to keep the metallic floss from snagging so much, but it also keeps it nice and shiny! Best of all it isn't sticky, doesn't smell, and doesn't effect the color of your floss or fabric. A little blow box lasts ages, you can find it in big craft stores or online and you can use it for any kind of thread, it can be laundered and ironed without staining or marking thread or fabric. And no, I'm not payed by the Thread Heaven fabric, I swear.
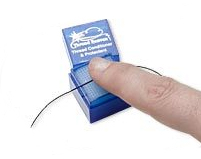 How to use it: separate a single strand of floss and run it across your Thread Heaven - I pass it over twice, once in each direction, sandwiching the floss between my finger and the Thread Heaven - and then run the strand through my fingers a few times just to work the Thread Heaven in. You may find that the floss is already starting to unravel a little at the ends - don't worry, we're going to take care of that.
Another hint to avoid snag, is to use a needle that is one size larger than you would normally use. The larger needle will help to “open” the fabric and allow the metallic floss to slide more easily through the fabric.
Yes, but it still unravels. True again. And it does for the same reason as it snags. So now I'm going to teach you the most secret of the secrets: how to thread you needle. Yes, you already know how to do it. But for metallic floss you need to thread your needle in a slightly different way, that actually contributes to the unraveling problem.
 This technique works best when using an even number of strands. For stitching in 2 ply, cut the length twice the length needed; separate 1 strand and fold it in half, lining up the two live edges. Now take the other end, that actually will be a loop and thread your needle with this loop end. Now knot the loop on the needle eye by passing the loose ends of the floss in the loop. Basically, you are making a slip knot.
Then all you need to is trim the live ends of the floss so that they're all even and start your stitching, anchoring those pesky live ends under the first few stitches, just like you do when you're cross stitching with normal cotton floss.
That's all!
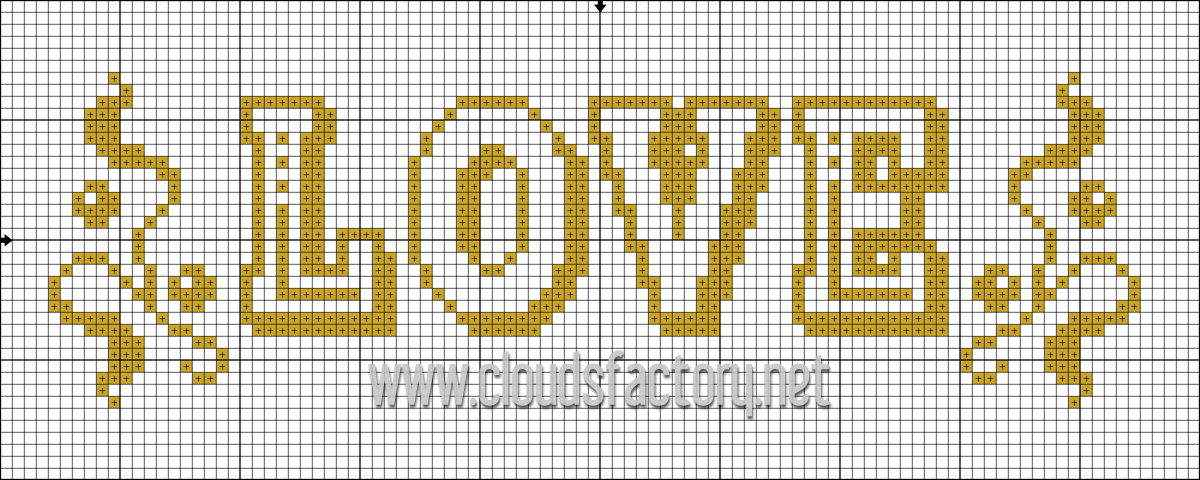
Here's a little free pattern for you to practice your metallic stitching with. You can stitch it in any color you please!


[…] hate working with metallic floss, what can I do? Read the post about working with metallic floss, and you will love working with […]