


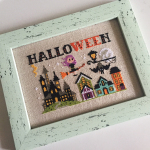
Tips and tricks - Framing DIY
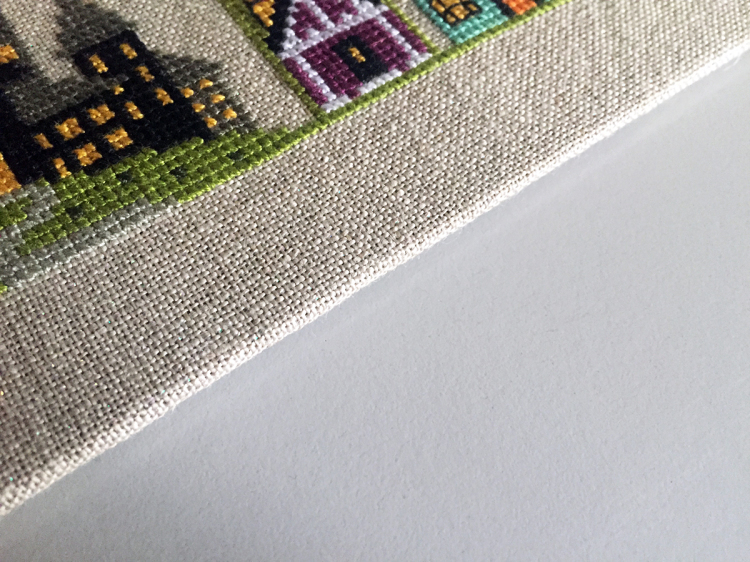
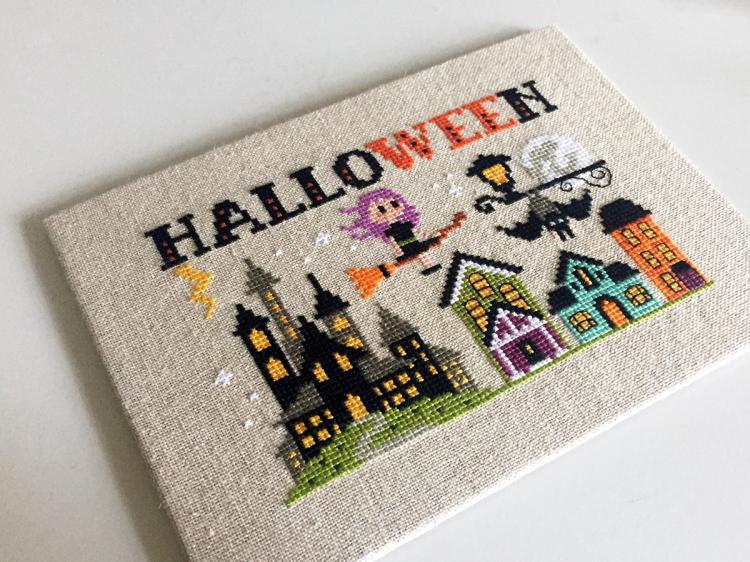
Custom framing is usually an expensive process that may scary many stitchers. In this tutorial you will find a step by step process for cheap and easy DIY framing. It usually works best with small patterns, such as our new Wor(l)ds collection!
What you will need:
- finished, washed and ironed work
- frame
- sewing thread and needle
- ruler
Step 1:
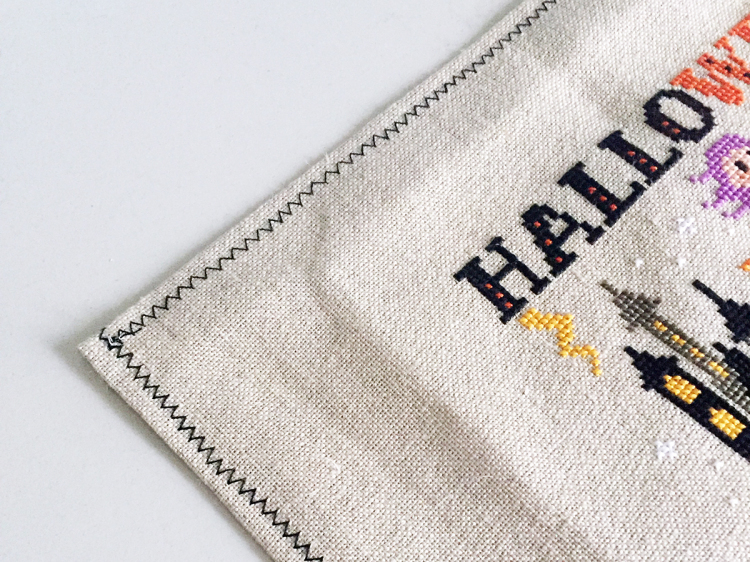
I usually seal my fabric with a zig-zag stitch all around before starting to stitch, to avoid frying and those annoying threads hanging from my Q-snap. This also helps a lot during the framing process as it makes your sides stronger. If you don't have a sewing machine, you can hand stitch the borders or you can use paper tape.
I highly suggest to leave your fabric slightly wet before starting this process: while the fabric dries it will shrink a bit, tensioning even more your work on the frame.
Center your work on the back of the frame using the ruler to be sure that there is the same distance from the border an all the sides, then fold to the back the fabric. You can gently iron the folding to help everything to stay in place.
Step 2:
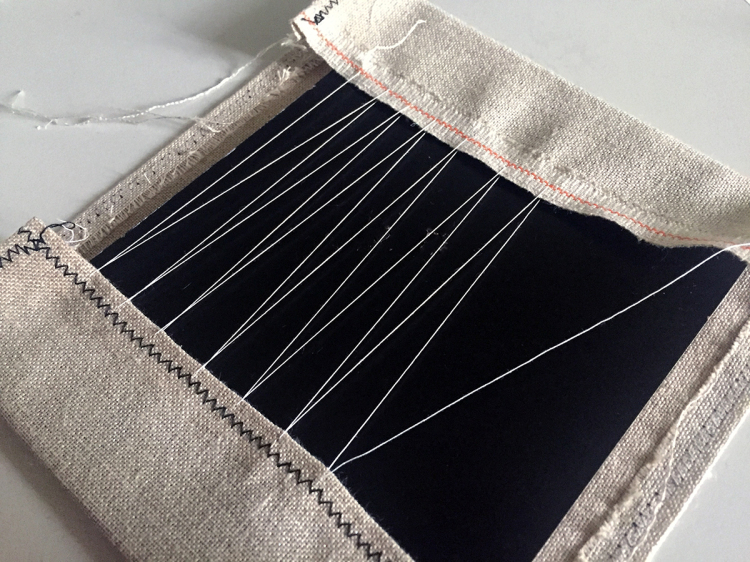
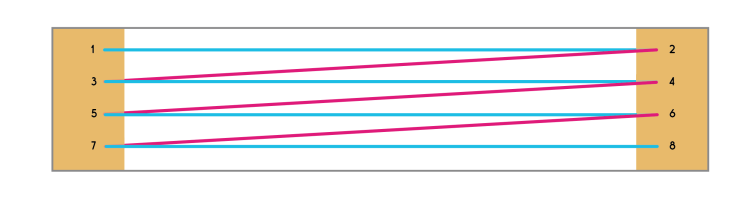
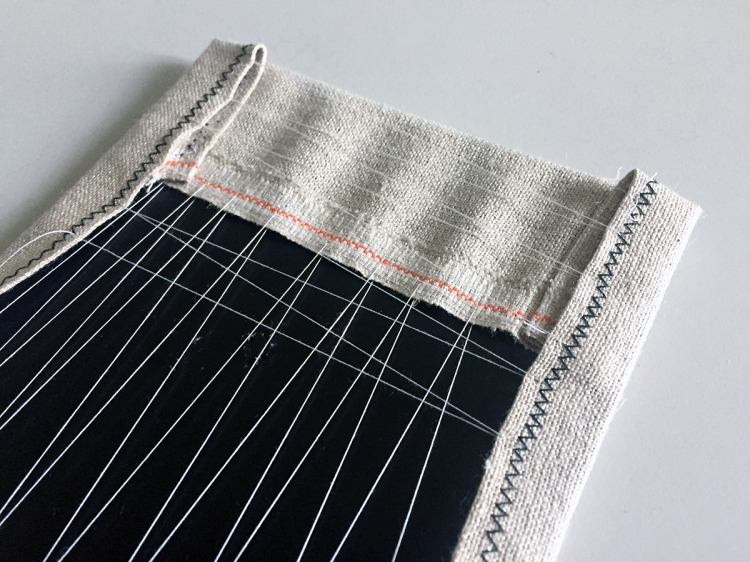
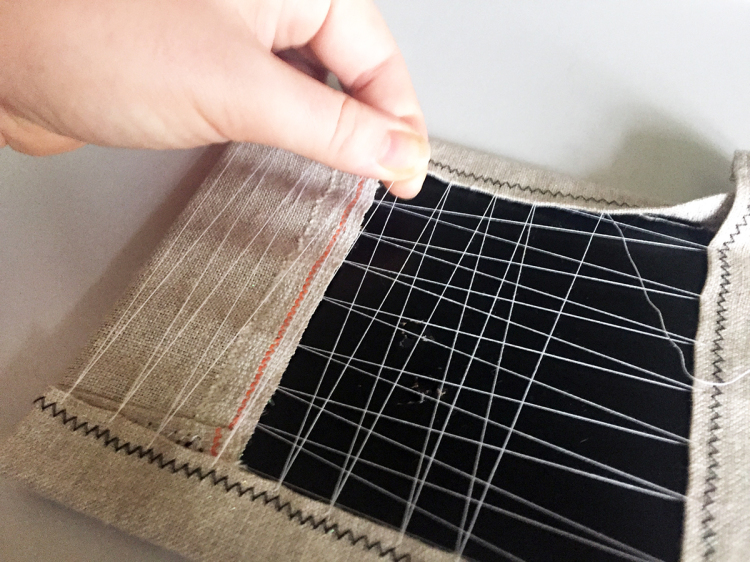
Take a quite long piece of thread and start stitching together two sides (I usually begin from the shortest side) in a zig zag motion, leaving about 1/2 inch (1 cm) from one stitch to another. Be sure to insert your needle always in the same way (top to bottom or bottom to top) in both sides, like you're lacing a corset. Once you're done, before securing the thread, tensions with your fingers every stitch starting from the beginning to give a great tension.
Step 3:
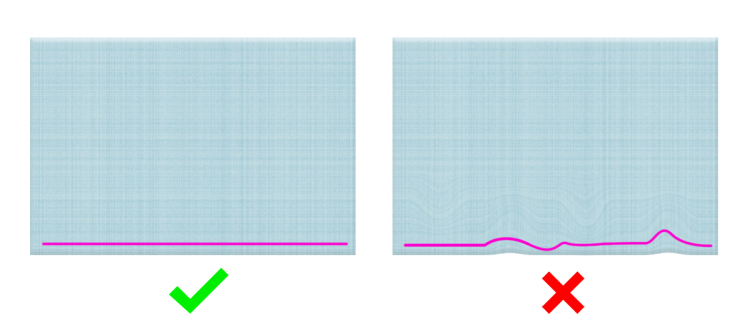
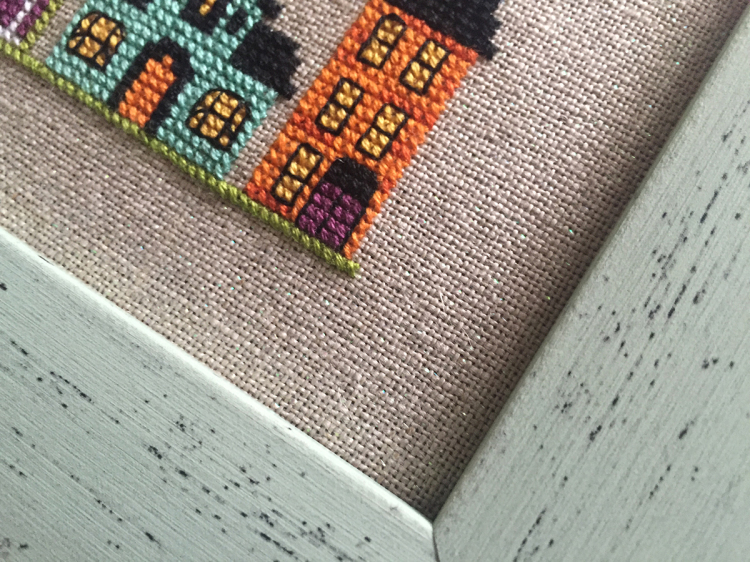
Be sure to check on the front that your fabric is straight and parallel to the top and bottom lines using your fabric weaving as a guide. If there are waves on your fabric, gently push or pull the fabric with your thumbs to make sure that everything is lined up, and eventually re-tension your sewing on the back.
Step 4:
Now start with the other side repeating the process. Sew, tension, check, re-tension.
If your work is wide, I suggest you to start from both sides, joining the sewing in the center.
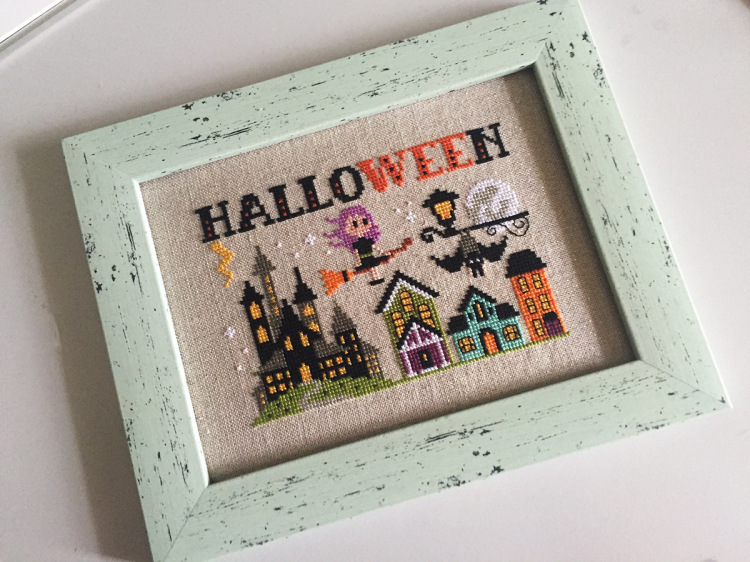
Step 5:
Now you've just to insert the back into the frame aaaaand you're done!!


GENIUS!! Thank you for this!
[…] favorite blog post is about tips on how to create a customized framing for your finished product. So far, I have finished two projects and it was so difficult trying to […]